

TL;DR:
- Implementing basic home-proofing, foundational obedience, simple communication devices, and a caregiver emergency plan significantly enhances safety for disabled dog owners. Building a reliable, trained service dog takes four to six months of consistent training before complex tasks are added. Using user-friendly alert devices like the iPupPee and having a clear emergency plan ensure safety and independence when caregivers are unavailable.
The four highest-impact things you can do right now: home-proof your most-traveled path, teach three foundation obedience cues, add one simple communication device, and write a one-page emergency caregiver plan — each one addresses a different failure point.
- Home-proof key hazards — clear your main path of cables, loose rugs, and toys that can trip a wheelchair or cause a fall. (See Home Checklist below.)
- Establish foundation obedience — a dog that reliably sits, stays, and comes when called is safer in every environment, indoors and out. (See Training Timeline.)
- Add one simple communication device — even a single alert button paired with a trained cue gives you a backup when verbal commands are not possible. (See Communication Devices.)
- Create a one-page emergency caregiver plan — if you become incapacitated, a caregiver needs to act without prior training. (See Emergency Plan.)
Table of Contents
- What does a safe home look like for disabled dog owners?
- How do ADA rules protect you and your dog in public?
- What training timeline actually keeps your dog reliable?
- Which communication devices actually help disabled handlers?
- How do you build an emergency plan a caregiver can use?
- When should you call a professional instead of handling it yourself?
- Key Takeaways
- The part most guides skip entirely
- The iPupPee alert device: a practical fit for disabled handlers
- Authoritative U.S. sources for further reading
What does a safe home look like for disabled dog owners?
A room-by-room sweep takes less than an hour and prevents the most common accidents. Work through each zone systematically.
Entryways and main paths: Keep a clear corridor wide enough for comfortable wheelchair passage at all times. Secure cables with adhesive clips, roll up loose rugs, and add non-slip adhesive strips on hard floors. A bell on your dog’s collar lets wheelchair users hear where the dog is before moving forward, reducing the risk of rolling over paws — a tip wheelchair users consistently recommend.
Kitchen and bathroom: Store all medications in a latched cabinet at a reachable height. Use a pill organizer with large tabs if hand dexterity is limited. Elevated feeding platforms bring food and water bowls up to a comfortable height and reduce bending strain. Long-handle grabbers let you pick up spilled kibble or a dropped leash without getting on the floor.
Bedroom and living area: Keep your dog’s bed and crate in a fixed spot so you always know where they are in low light. Toy containment bins with wide openings are easier to use than scattered floor toys. Mount a small mirror near your chair if you cannot easily turn to check behind you.
Yard and outdoor access: A dog door with a magnetic or electronic lock gives your dog outdoor access without requiring you to open and close it manually. If that is not feasible, schedule caregiver-assisted toilet breaks at consistent times. Fencing should be checked monthly for gaps.
Medication and food storage: Label everything clearly. If you use a pill crusher or liquid medication for your dog, keep the tools in a single dedicated drawer at arm height. Adaptive tools like hands-free leash attachments and delivery services for heavy food bags reduce daily physical strain considerably.
Pro Tip: Adhesive tactile markers on cabinet handles and leash hooks cost under $10 and let you locate gear by touch alone — a small change that pays off every single day.
How do ADA rules protect you and your dog in public?
Under the ADA, a service animal is specifically a dog trained to perform tasks directly related to a person’s disability. Emotional support animals do not carry the same public-access rights — a distinction that matters every time you enter a restaurant, store, or transit system. Staff may ask only two questions: Is the dog required because of a disability? and What task is the dog trained to perform? They cannot ask for documentation, a vest, or a demonstration.
Before any outing, run through this short checklist:
- Route plan: identify accessible entrances, elevators, and rest areas in advance.
- Public-access skills: your dog should walk on a loose leash, ignore food on the floor, and hold a stay through moderate foot traffic before you attempt a busy environment.
- Safety kit: carry waste bags, a water bottle, a short leash backup, and your dog’s ID tag information.
- Time window: set a realistic duration. Fatigue affects both handler and dog, and a tired dog makes more errors.
Recognizing stress in your dog matters as much as managing your own. Yawning, lip-licking, tucked tail, and repeated scanning are early signals. When you see them, find a quiet spot and give the dog a few minutes to decompress before continuing.
Pro Tip: Before a full outing, run a 15-minute “mini public-access test” in a low-traffic area: loose-leash walk past a distraction, a 2-minute down-stay, and a recall from 10 feet. Three clean passes on all three items before you scale up.
For more on service dog etiquette and public-safety strategies, the Ipuppee blog covers practical handler scenarios in detail.
What training timeline actually keeps your dog reliable?
Start with 4–6 months of foundation and public-access proofing before any complex task training. Skipping this step is the single most common reason service-dog training fails. A dog that cannot hold a 5-minute stay in a quiet room will not hold one in a hospital lobby.
Foundation skills to build first:
| Skill | Reliability Target | Why It Matters |
|---|---|---|
| Recall | 95%+ | Safety in any environment |
| Sit / Down / Stand | Consistent on first cue | Handler control |
| Stay | 5+ minutes | Public-access requirement |
| Loose-leash walking | No pulling or lunging | Handler stability |
| Leave-it | Immediate response | Hazard avoidance |
| Settle / Place | On cue, holds 10+ min | Waiting in public |
| Handling tolerance | Accepts exam, gear | Vet and grooming access |
The three-clean-session rule is a practical readiness gate: before declaring a skill or environment “proofed,” your dog must perform correctly in three separate sessions in that environment, with real-world distractions present. Short daily sessions outperform long infrequent ones for building this kind of reliability.
AKC guidance notes that professionally trained service dogs can cost more than $25,000, but the ADA does not require professional training. You can train your own dog. What you cannot skip is the foundation work. A good step-by-step training roadmap helps you sequence the work correctly from the start.
Which communication devices actually help disabled handlers?
Simple tech plus consistent training multiplies safety and cuts handler workload. The device categories below map to common handler needs.
- Alert buttons / cue devices (like the iPupPee): the dog presses a button to signal a need; the handler receives an alert. Ideal for handlers with limited verbal ability or hearing loss. Requires 5–10 minutes of daily pairing practice to build reliability.
- Vibration wearables: collars or harnesses that deliver a tactile cue instead of a sound command. Useful for hearing-impaired handlers or noisy environments.
- GPS trackers and geo-fence alerts: clip-on units that notify a caregiver if the dog leaves a defined area. Battery life varies from 12 hours to several days depending on the model.
- Activity monitors: wristband-style or collar-mounted sensors that track rest, movement, and anomalies. Useful for health monitoring in dogs with chronic conditions.
- Door and exit sensors: motion-triggered alerts when a dog approaches an exit. Pairs well with a dog door lock for yard safety.
- Hands-free leash attachments: waist or wheelchair-mount designs that free both hands. Check weight rating against your dog’s size.
- Remote treat dispensers: reward a correct behavior from across the room; useful during early device-pairing training.
How to choose: prioritize ease of one-handed operation, tactile vs. audible signal options, battery life over 24 hours, and U.S.-based warranty support. Caregiver notification integration is worth paying extra for if you live alone.
The iPupPee alert device is designed specifically for this use case. Your dog presses a button; you receive a clear alert. The training sequence is short, the device is available in the U.S., and it pairs naturally with the communication training methods covered on the Ipuppee blog.
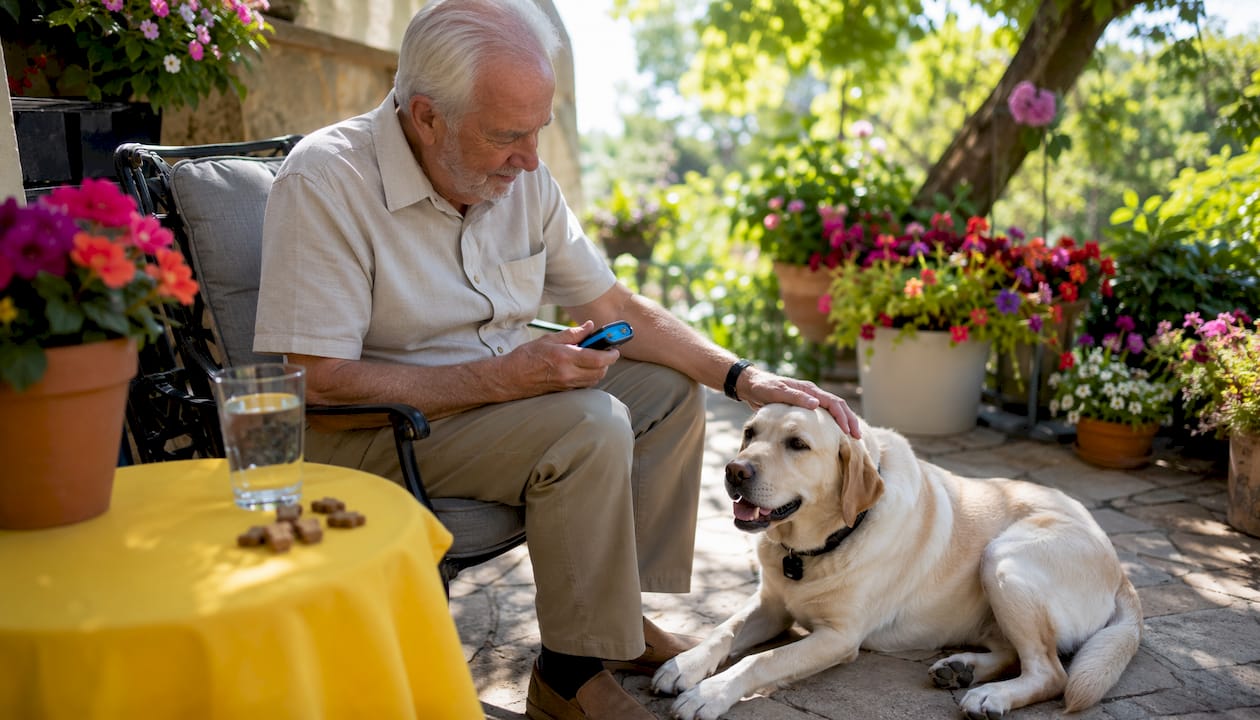
Pro Tip: Pair any new device with a physical cue your dog already knows. If your dog already touches your hand on cue, transfer that behavior to the button in three short sessions. Familiar cues accelerate new tech adoption.
Good nutrition supports training stamina too — a dog that is well-fed and healthy learns faster and holds cues longer under stress.
How do you build an emergency plan a caregiver can use?
Every handler needs a one-page plan that a caregiver can follow without prior training. Print it, laminate it, keep one copy in your wallet and one in your caregiver’s phone.
Fields to include:
- Dog’s name, microchip number, and photo
- Veterinarian name, address, and phone
- Current medications, dosages, and schedule
- Feeding schedule and food brand
- Toileting routine and outdoor-access method
- Mobility and handling notes (how to lift, secure, or transport the dog safely)
- Favorite calming methods (specific toy, blanket, verbal cue)
- Device codes or app login for any alert tech (iPupPee or GPS)
- Preferred temporary caregivers with phone numbers
- Any legal or medical documentation the caregiver may need
Caregiver immediate steps: secure the dog in a familiar room, use the dog’s name and calm tone, follow the medication schedule exactly, and contact the backup caregiver within the first hour. Research on veterinary access barriers for people with disabilities shows that continuity of care planning directly reduces the risk of pet relinquishment during a health crisis.
When should you call a professional instead of handling it yourself?
Some situations need a specialist, and waiting too long makes them harder to fix.
- Repeated aggression toward people or other animals: contact a veterinary behaviorist first to rule out a medical cause, then a certified trainer.
- Persistent anxiety that training does not reduce: a veterinarian can assess whether medication support is appropriate before behavioral work continues.
- Handling injury risk to the handler: if your dog’s size or pulling behavior creates a fall or collision risk, a certified trainer with mobility-assistance experience should assess the team.
- Medical events (seizures, sudden behavior change): veterinarian first, always.
- Task design or certification questions: contact a service-dog organization such as Atlas Assistance Dogs or Putnam Service Dogs for guidance on task standards and public-access testing.
When you call, bring a short video of the behavior, your training log, and notes on any device interactions. That preparation cuts triage time significantly. For selecting the right dog for your specific disability and lifestyle, the Ipuppee blog has a detailed selection guide.
Key Takeaways
Dog safety for disabled owners comes down to four parallel tracks: a safe home, a trained dog, reliable communication tech, and a caregiver plan that works without you.
| Point | Details |
|---|---|
| Home-proof first | Clear your main path, add non-slip strips, and secure medications before anything else. |
| Foundation before tasks | Build 4–6 months of obedience and public-access skills before complex task training begins. |
| One device, trained daily | Add one alert device and practice it for 5 minutes daily to build reliable communication. |
| Emergency plan on paper | Keep a printed one-page caregiver plan in your wallet and a digital copy in your caregiver’s phone. |
| Ipuppee alert device | The iPupPee button pairs with a short training sequence and is available in the U.S. for disabled handlers. |
The part most guides skip entirely
The safety checklists in this guide are real and worth following. But the piece most articles miss is the psychological weight of the planning gap. Disabled handlers often delay building an emergency plan or adding a communication device because it feels like admitting vulnerability. That framing is exactly backwards.
A caregiver plan is not a concession. It is what keeps you and your dog together when something goes wrong. The handlers who build these systems early are the ones who stay independent longer, not the ones who give up control. The same logic applies to devices like iPupPee: the goal is not to replace your dog’s training. It is to add a layer that works even on a bad day, when fatigue or pain makes verbal cues harder to deliver consistently.
The 4–6 month foundation timeline feels slow when you need help now. But a dog trained too fast is a dog you cannot trust in public, and an untrusted dog gets left home. That is the real cost of skipping the foundation work.
The iPupPee alert device: a practical fit for disabled handlers
For disabled handlers who need a reliable, low-effort communication layer, the iPupPee device fills a specific gap. Your dog presses a button; you get an alert. That is the core function, and it is genuinely useful when verbal commands are inconsistent or when you need a caregiver to know something is wrong without you having to initiate contact.
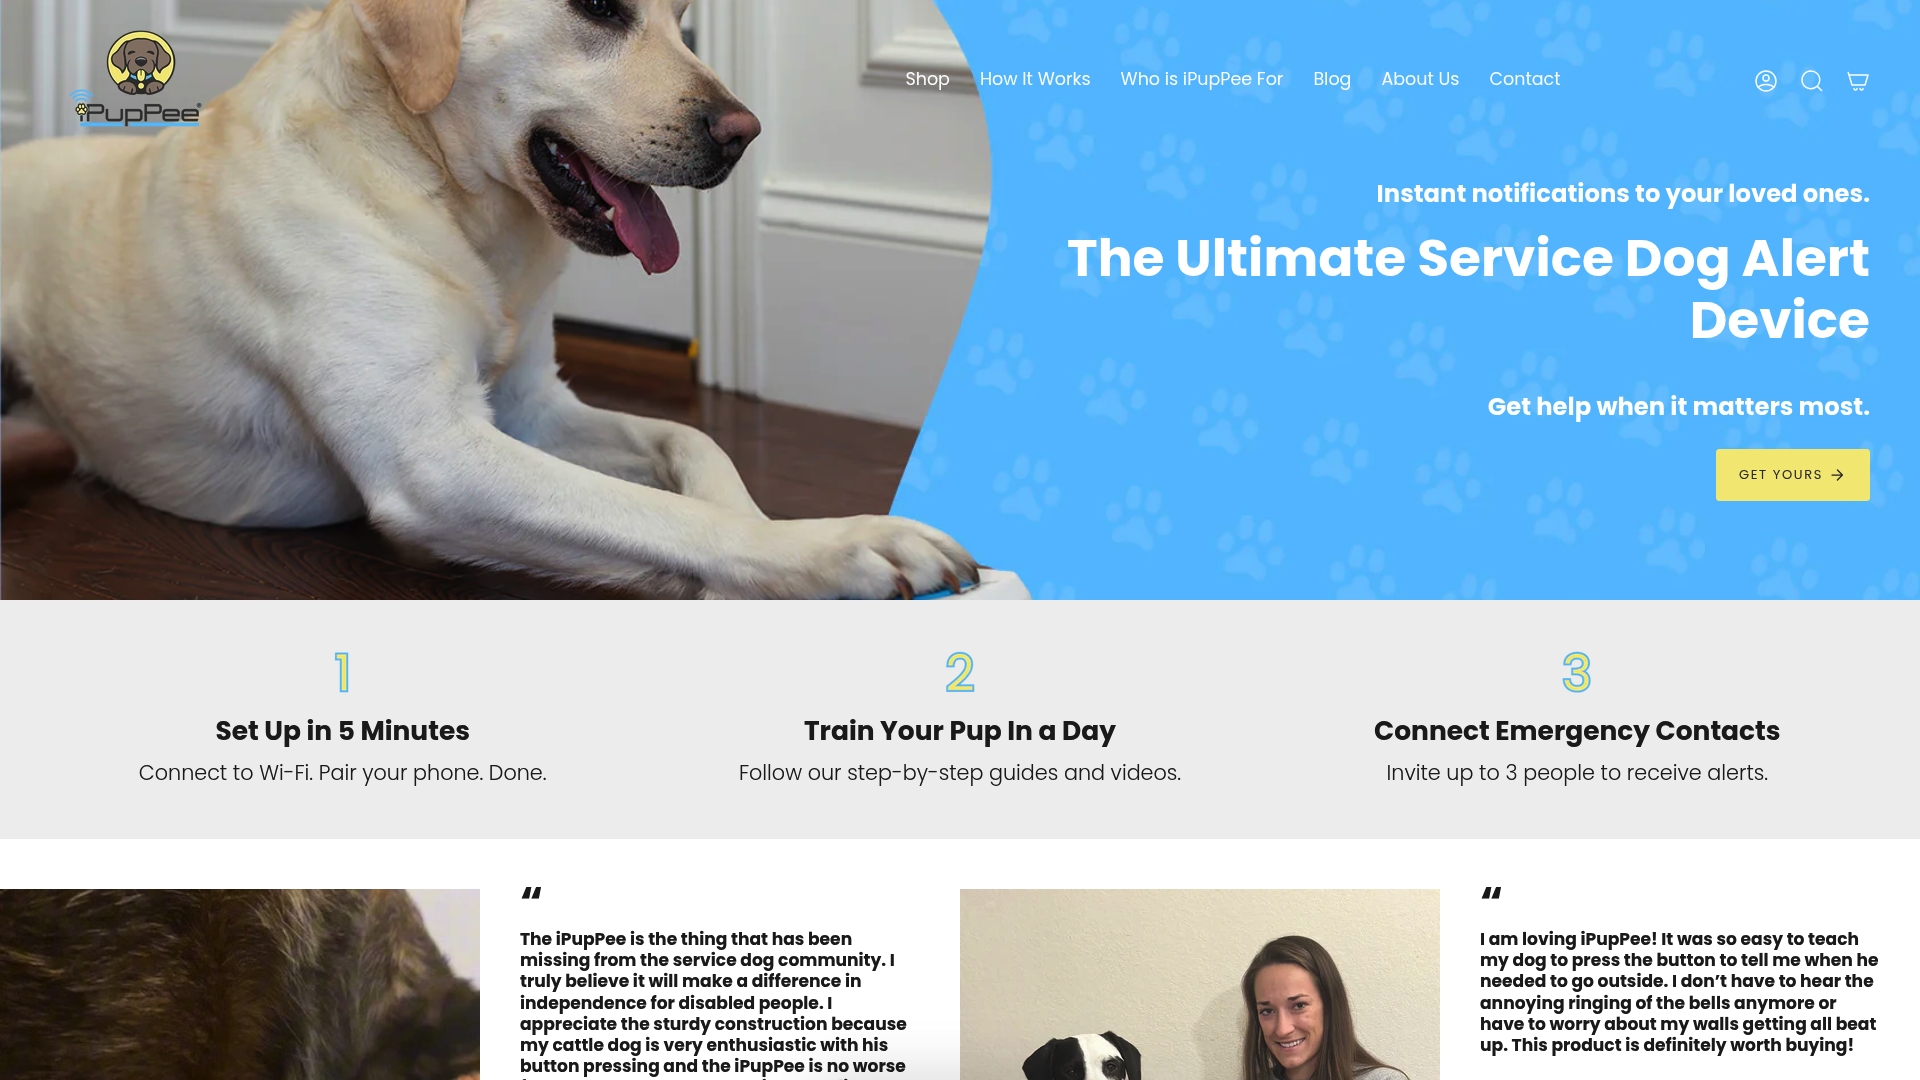
The device is designed for one-handed setup, ships within the U.S., and comes with training guidance that pairs naturally with the foundation skills covered in this guide. The training quickstart takes three steps: introduce the button as a target, reward every press, then attach a specific meaning (toileting need, water, attention). Most dogs pick it up within a week of short daily sessions.
Limitations worth knowing: like any tech, it requires consistent daily reinforcement to stay reliable, and battery maintenance is a real task. But for handlers who live alone or have limited caregiver availability, that small overhead is worth it.
Start with the iPupPee device and pair it with the emergency plan template above for a complete communication and safety setup.
Authoritative U.S. sources for further reading
- ADA service animal guidance — the primary legal source for the two-question rule, service animal definition, and public-access rights. Backs the ADA section of this guide.
- AKC service dog training overview — covers task categories, training cost context, and the distinction between service dogs and ESAs. Supports the training timeline section.
- NSAR training methods and public-access checklist — source for the 4–6 month foundation timeline, the three-clean-session rule, and the 95%+ recall target.
- MDPI research on PWDs and veterinary access — peer-reviewed study on financial and logistical barriers disabled guardians face; supports the emergency-planning and caregiver-coordination sections.
- Wheel:Life adaptive dog care guide — practical first-person resource on elevated feeders, hands-free leashes, and delivery services for wheelchair users.
- New Mobility wheelchair pet management — user-sourced tips on collar bells, mirrors, and chair-specific leash solutions; supports the home checklist section.
- Atlas Assistance Dogs — U.S.-based organization supporting owner-trained service dogs; useful for task design questions and professional referrals.
- Putnam Service Dogs — detailed overview of mobility service dog tasks, ADA definitions, and the team-training process.