

TL;DR:
- Most dogs can learn to press communication buttons for signaling needs using positive reinforcement and consistent training techniques. Starting with one high-value word and modeling the button press helps establish associations, while caregiver consistency and proper equipment ensure success. Short, progressive training plans combined with patience lead to reliable button use within weeks.
Yes — most dogs can learn to press communication buttons to signal needs, and the fastest path there combines positive reinforcement, consistent follow-through, and a method called Aided Language Input, developed by speech-language pathologist Christine Hunger. Buttons work through association: your dog links the button’s location, the recorded word, and the outcome that follows every single time.
Three things you can do right now:
- Pick one high-value word your dog already responds to (“outside,” “play,” or “food”).
- Place a single button in one fixed spot tied to that outcome — near the back door for “outside,” for example.
- Model the press yourself before every routine action so your dog watches the connection form.
Buttons are a supplement, not a replacement, for reading your dog’s existing body language and completing basic behavior training first.
Table of Contents
- What are button-based animal communication techniques?
- What are the core animal communication techniques for button training?
- Which expert strategies speed up button learning the most?
- How does a 4-week progressive training plan work?
- What equipment do you need and what does it cost?
- What are the most common button training mistakes?
- How do service dog handlers integrate button systems safely?
- Quick-start checklist for your first session
- How do you assess whether your dog is ready for button training?
- How do you maintain and grow the communication system over time?
- How do you train caregivers and family members for consistency?
- How do you generalize button skills across environments?
- Key Takeaways
- Why patience beats intensity in button training
- Ipuppee: a purpose-built option for button training
- Useful sources and further reading
What are button-based animal communication techniques?
Recordable sound buttons are small devices you program with a spoken word. When your dog presses one, it plays that word back. The AKC confirms that many dogs can learn basic button communication when you start with routine-linked words and place buttons where the dog already passes naturally.
Practical use cases include potty signaling, requesting walks or play, alerting caregivers to a need, and providing mental enrichment for senior dogs or those with limited mobility. For service-dog handlers, buttons can extend a dog’s ability to communicate in low-noise environments or when a handler cannot read subtle non-verbal animal cues quickly.
One honest caveat: early practitioner research suggests trained dogs press buttons intentionally rather than randomly, but the science is still developing. Prerequisites before you start include solid attention, recognition of daily routines, and a dog that is not reactive or highly anxious around novel objects.
What are the core animal communication techniques for button training?
Four methods cover nearly every dog’s learning style. Matching the right one to your dog’s personality cuts training time significantly.
- Modeling: Press the button yourself, say the word aloud, then immediately follow through (open the door, start play). Repeat before every routine occurrence. Fade your own press gradually once the dog begins approaching the button independently.
- Capturing: Wait for your dog to naturally sniff or paw near the button, then mark and reward that moment. Once the behavior is reliable, link it to the button press by placing the button directly in the dog’s path.
- Luring: Hold a high-value treat near the button to encourage nose or paw contact. The moment the button activates, deliver the treat and the outcome. Phase the lure out within three to five sessions so the button itself becomes the cue.
- Shaping: Break the full press into tiny steps: look at the button → approach → touch → push. Reward each step before advancing. This works especially well for cautious dogs or those with limited paw dexterity.
Puppies and highly motivated dogs respond fastest to modeling and luring. Adult dogs with some impulse control often do better with shaping. For dogs with mobility constraints, consider foot or nose activation and skip paw-targeting entirely.
Training communication buttons requires precise timing above all else.
Pro Tip: Reward the press by delivering the outcome immediately — open the door, toss the toy, pour the food. Action-based follow-through teaches meaning far faster than a treat alone, and it prevents the dog from learning that buttons produce snacks rather than real results.
Which expert strategies speed up button learning the most?
Christine Hunger, a speech-language pathologist who applied augmentative communication principles to dog training, identified three practices that consistently accelerate comprehension.
Aided Language Input: Model the button word frequently during the real activity — press “outside” as you reach for the leash, not just before you open the door. Focused Language Stimulation: Run short, repeated practice bursts on one target word per session rather than cycling through multiple buttons. Increased Wait Time: After modeling, pause up to 15 seconds and resist the urge to prompt. That silence gives the dog time to process and initiate independently.
For “outside,” a practical Aided Language Input script sounds like: press the button, say “outside,” clip the leash, open the door. Every time, in that order. For “food,” press the button as you pick up the bowl — not after you set it down. The timing of the model is what builds the association.
Focused Language Stimulation means running three to four short trials on “outside” before breakfast, not mixing “outside,” “play,” and “water” in the same five-minute window. Increased Wait Time is the hardest habit to build. Most handlers jump in with a second model or a verbal cue the moment the dog looks away. Whole Dog Journal’s coverage of Hunger’s work notes that lengthening the pause is one of the highest-leverage adjustments a handler can make.
How does a 4-week progressive training plan work?
A compact plan keeps sessions short enough that the dog stays engaged and you stay consistent.
- Week 1 — Single-button mastery: Five-minute sessions, three to four times per day. Model the button every time the routine action occurs. Milestone: dog approaches the button area without prompting.
- Week 2 — Independent presses: Reduce your own modeling to every other occurrence. Use capturing to reward any spontaneous press. Add minimal luring only if the dog stops engaging. Milestone: dog presses independently at least once per day.
- Week 3 — Second button and discrimination: Introduce one new word on a visually distinct button placed at least two feet away. Practice each button separately before mixing. Milestone: dog presses the correct button in context eight out of ten times.
- Week 4 — Generalization: Move sessions to a second room. Rotate which family member models. Add brief distractions (TV on, another person present). Milestone: reliable presses across two locations and two handlers.
Each session template: two to three warm-up models by the handler, six to ten short trials, one full follow-through action for each successful press, and a two-minute cool-down. Log date, button used, press count, and any handler errors. If the dog regresses, return to the previous week’s criteria rather than pushing forward.
What equipment do you need and what does it cost?
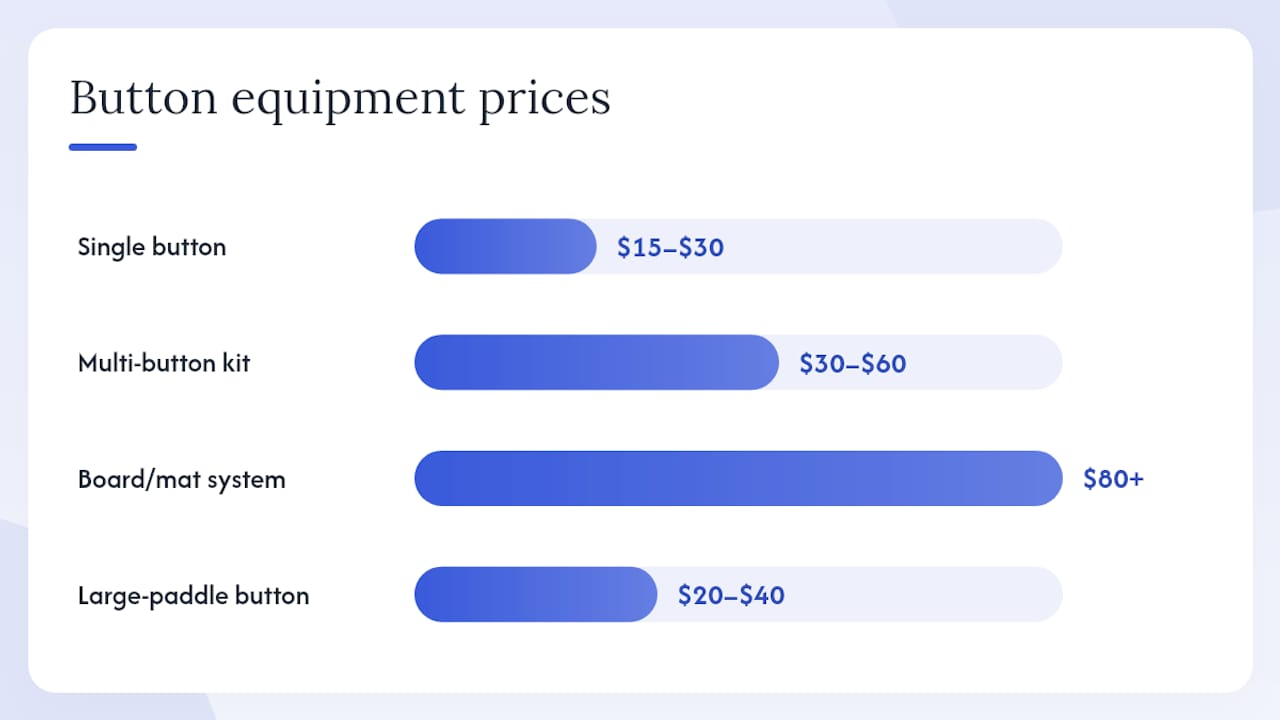
| Equipment type | Features | Approximate U.S. price |
|---|---|---|
| Single recordable button | One word, basic activation | $15–$30 |
| Multi-button starter kit | 4 buttons, color-coded | $30–$60 |
| Durable board or mat system | Pre-mounted, stable surface | $80+ |
| Large-paddle accessibility button | Wider target, low activation force | $20–$40 each |
Place buttons at a consistent height the dog can reach without jumping or straining. A non-slip mat or velcro fasteners prevent sliding, which is one of the most common reasons dogs stop pressing. For dogs with limited paw mobility, foam ramps or nose-touch targets lower the physical barrier significantly.
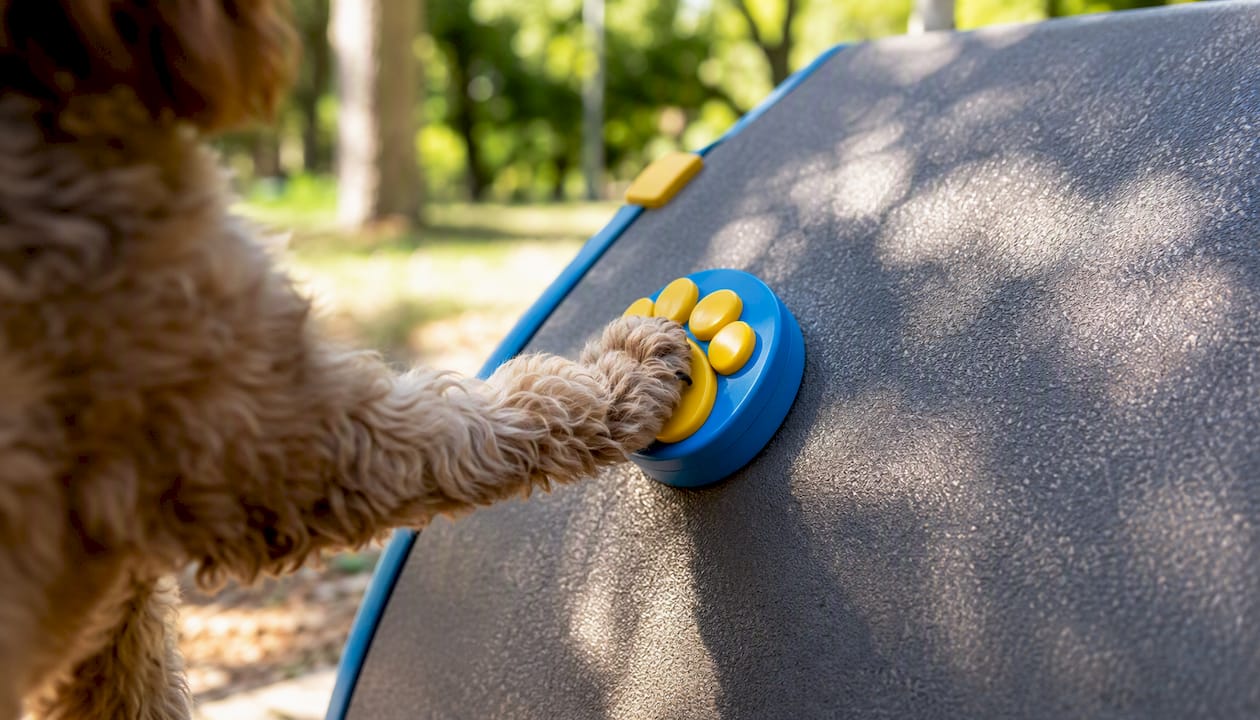
Rechargeable buttons cost more upfront but eliminate mid-session battery failures. Keep recordings consistent: re-recording the same word in a different voice or tone can confuse a dog that has already learned the sound. The AKC recommends placing buttons where the dog already passes, which also reduces the need for elaborate placement rigs.
What are the most common button training mistakes?
- Overpressing: Cause: food rewards tied directly to the button. Fix: switch to action-based follow-through only; add a brief 30-second pause before re-engaging if the dog spams the button.
- Accidental presses: Cause: unstable placement or a dog exploring out of context. Fix: stabilize the board and respond only when context matches the request (near mealtime for “food,” near the door for “outside”).
- Handler cueing: Cause: leaning toward the button or timing your model to the dog’s gaze. Fix: model out of the dog’s direct sightline occasionally, and vary which household member runs the session.
- Rushed shaping: Cause: advancing steps before the dog hits 80% success at the current step. Fix: return to the last reliable step and add five more successful repetitions before moving forward.
- Caregiver inconsistency: Jordan Dog Training identifies moving buttons and inconsistent responses as the top failure points. Fix: a one-page rule sheet listing each button, its location, and the required response, shared with every person in the household.
How do service dog handlers integrate button systems safely?
Buttons placed for public access need secure mounting that survives movement and varied surfaces. Tactile button covers (different textures per word) let handlers in low-noise environments identify which button the dog pressed by touch rather than sound. For handlers who rely on caregivers, position at least one button at caregiver-accessible height so a remote responder can confirm the signal.
Coordinate button use with your formal service-dog trainer before adding any device to the dog’s working environment. Document how each button complements the dog’s official task list and include it in the written training plan. Buttons are supplementary: they do not replace legally defined service-dog tasks, and a device failure must never leave a handler without a contingency signal.
A short acceptance checklist before deploying in public: ten accuracy trials in a familiar environment, five trials in a novel environment, and confirmation that two different handlers get consistent responses. Service-dog alert training resources can help structure those trials.
Quick-start checklist for your first session
- Choose one first word tied to a daily routine.
- Place the button in one fixed, accessible spot.
- Model the button 10 times across the day before the routine action.
- Respond to every press, including accidental ones, with the mapped outcome.
- Log results: button used, press count, handler errors.
First-session template: Three handler warm-up models, six short trials with immediate follow-through, one full action reward for a successful press, two-minute cool-down, written observation notes.
Run one practice session with every caregiver present so everyone follows the same response rules from day one.
How do you assess whether your dog is ready for button training?
Watch for three readiness signals: the dog notices and investigates novel objects placed on the floor, responds reliably to at least one verbal cue, and shows a predictable daily routine (consistent mealtimes, walk times). A dog that ignores new objects entirely or is highly reactive will need foundational work before buttons make sense.
A simple two-day readiness test: place an inert button (not yet recorded) in the dog’s path and observe whether the dog sniffs, paws, or interacts within 24 hours. Dogs that engage quickly are strong candidates for luring or modeling. Dogs that avoid the object entirely respond better to shaping, starting from a distance and building approach behavior first.
How do you maintain and grow the communication system over time?
Add a new button only after the existing one reaches consistent, context-appropriate use across at least two days. Vocabulary creep — adding buttons faster than the dog consolidates them — is the most common reason progress stalls after Week 3.
Periodically audit the board: remove buttons the dog has stopped using and re-record any word that has drifted in pronunciation or volume. As vocabulary grows past six to eight buttons, organize them by category (needs vs. activities) and keep the most-used buttons closest to the dog’s natural path. Dog button communication guides recommend logging weekly press counts per button so you can spot declining use before it becomes a regression.
How do you train caregivers and family members for consistency?
Inconsistent responses are the single fastest way to erode a dog’s button behavior. Every person in the household needs to know three things: which button maps to which outcome, where each button lives, and what the required follow-through action is.
A one-page reference card posted near the button board works better than verbal instructions. Include the word, the location, and the exact response (e.g., “outside = open the back door within 10 seconds”). Run a 10-minute joint session with each new caregiver before they interact with the dog independently. Creating consistent dog communication signals across all handlers is what separates a dog that presses reliably from one that presses randomly.
How do you generalize button skills across environments?
Start generalization in Week 4 by moving one session per day to a second room, then a different floor of the house. Keep button placement consistent relative to the outcome (the “outside” button always near an exit) even when the specific door changes.
Introduce mild distractions gradually: TV background noise first, then another person present, then brief outdoor sessions if the setup allows. Dogs that press reliably at home but shut down in new environments usually need more repetitions at the transition point, not a new method. Hand signal cross-training alongside button use helps dogs generalize the communication concept rather than tying it to one specific device location.
Key Takeaways
Button-based communication works reliably when every press receives an immediate, consistent, action-based follow-through from every person in the household.
| Point | Details |
|---|---|
| Start with one word | Pick a single high-value, routine-linked word and master it before adding a second button. |
| Use modeling first | Press the button yourself before every routine action; fade your model only after the dog presses independently. |
| Coordinate all caregivers | Share a one-page rule sheet so every handler delivers the same response to every press. |
| Adapt for accessibility | Use large-paddle buttons, foam ramps, or nose targets for dogs with mobility constraints or service-dog workflows. |
| Ipuppee for device support | Ipuppee offers accessible button hardware, stable mounting options, and a training resource bundle built around these techniques. |
Why patience beats intensity in button training
The conventional wisdom in dog training circles is that more repetitions equal faster results. Button training flips that assumption. The handlers who see the quickest, most durable progress are almost always the ones who do less per session, not more. Five minutes, three times a day, with genuine follow-through beats a 30-minute marathon where the dog checks out after minute eight.
What people consistently underestimate is how much the dog is processing between sessions. The consolidation happens during rest. A dog that seems stuck on Day 3 often wakes up on Day 5 and presses the button cleanly, unprompted. That gap is not failure — it is the learning curve doing exactly what it should.
The other thing worth saying plainly: many dogs show reliable, context-appropriate button use within days to a few weeks, not months. Chewy’s training guidance notes that results can range from days to months depending on the dog, which is accurate — but most pet owners who stay consistent with modeling and follow-through see meaningful signals far sooner than they expect. Document every session, even the messy ones. The log is what tells you whether you’re progressing or repeating the same mistake.
Ipuppee: a purpose-built option for button training
Sponsored product section
If you’ve worked through this plan and want hardware designed specifically for the techniques above, Ipuppee builds communication devices with stable mounting, larger activation targets, and caregiver-friendly placement in mind — the exact features that prevent the most common training failures.
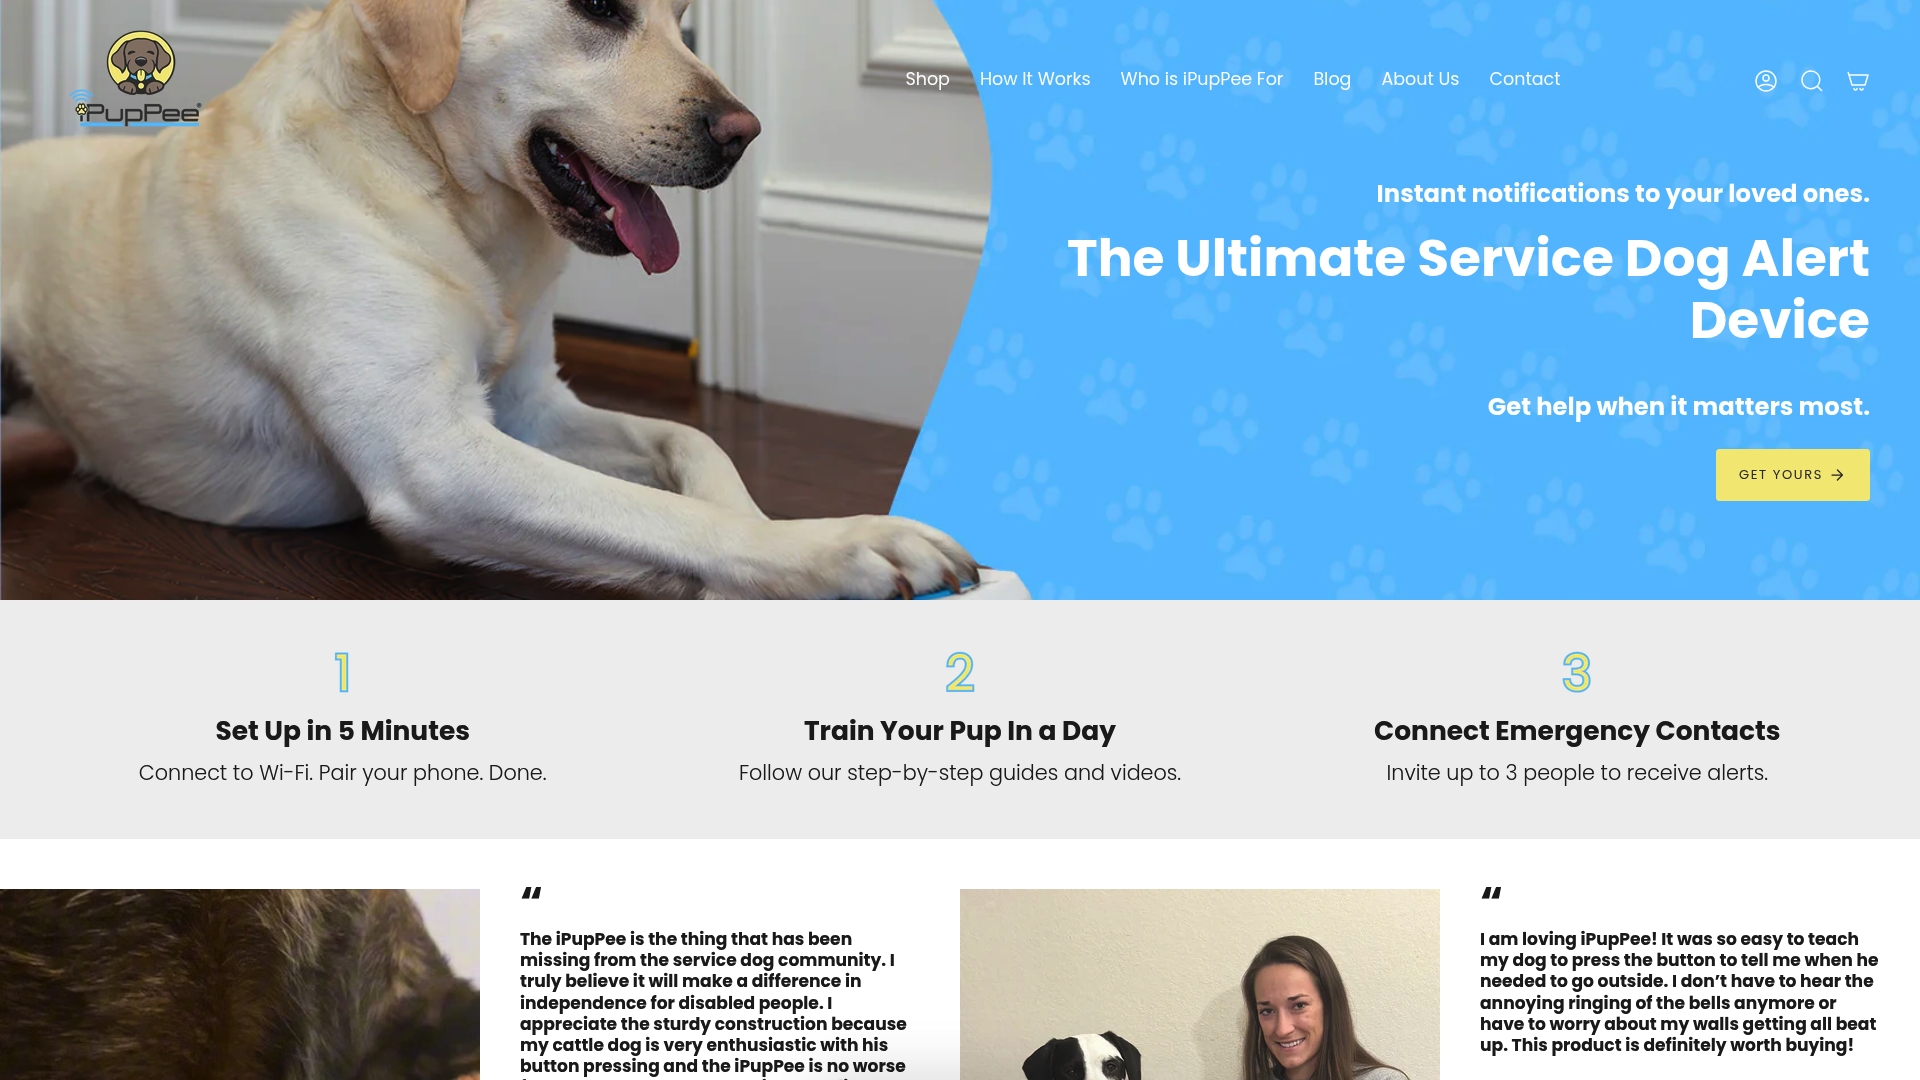
The iPupPee device supports recordable vocabulary, accessible button sizing for dogs with limited paw mobility, and a training resource bundle that walks you through the 4-week plan with video guidance. For service-dog handlers, the caregiver-facing placement options mean a remote responder can confirm a signal without being in the same room.
Visit ipuppee.com to view the device, explore the training resources, and find the setup that fits your dog’s needs and your household’s workflow.
Useful sources and further reading
- AKC: How to Teach Your Dog to Talk Using Dog Training Buttons — Placement guidance and a practical overview of starting with routine-linked words; good first read for new owners.
- Whole Dog Journal: Talking Buttons for Dogs — Primary source for Christine Hunger’s three expert strategies (Aided Language Input, Focused Language Stimulation, Increased Wait Time) and current state of the science.
- Chewy: Teach Your Pup to ‘Talk’ with Dog Buttons — Practical notes on rewards, modeling, and realistic timelines; useful for setting expectations.
- PLOS One: How do soundboard-trained dogs respond to human button presses? — Peer-reviewed research on whether dogs respond to button presses intentionally; the most rigorous science currently available on inter-species communication methods.
- ACM: Canine Co-design — Investigating Buttons as an Input Modality for Dogs — Academic foundation for button design and service-dog interface research; relevant for handlers and caregivers integrating devices into formal training plans.
- Ipuppee blog: Dog Button Communication Guide — Step-by-step owner and trainer guide with session templates aligned to the progressive plan above.
For service-dog integration, consult a certified professional dog trainer (CPDT-KA) or an Assistance Dogs International accredited program before adding any communication device to a working dog’s task list.