

Safe rescue transport runs on five non negotiables: a signed transfer agreement between partners, a run sheet with a medical checklist attached to every dog, a vehicle and crate setup that has been inspected before departure, trained volunteers working under a two driver rule on longer legs, and a written contingency plan for breakdowns or medical emergencies. Skip any one of these and you’re improvising with a live animal in the back seat.
TL;DR:
- All rescue transports must have a signed transfer agreement, a detailed run sheet, inspected vehicle setup, trained volunteers, and an emergency contingency plan.
- Staff must verify veterinary paperwork and conduct a pre-load medical check on each dog at least 5 to 7 days before travel, rejecting any dog that fails.
- Vehicles require specific setup, including proper crate sizing, secure stacking, sanitation protocols, and essential supplies like water, leashes, and disinfectant wipes.
- Assign clear volunteer roles, provide mandatory training, and use two drivers for trips over four hours to ensure safety and proper handling.
- During transport, dogs need visual welfare checks every four hours, with logs documenting condition, and a review process afterward to improve protocols continuously.
Table of Contents
- What Does a Dog Rescue Transport Planning Guide Need to Cover First?
- Medical Readiness: What Paperwork Does Every Rescue Dog Need Before Travel?
- How Should Volunteers Set Up Vehicles and Crates for Dog Transport?
- Who Does What: Volunteer Roles and Training for Safe Transport
- How Often Should You Check on Dogs During Transport?
- Building the Route: Scheduling, Waypoints, and Contingency Plans
- What Happens When the Transport Arrives?
- Where Communication Devices Fit Into a Transport Plan
- Field Perspective: What Actually Breaks on Volunteer Transports
- Give Your Transport Team a Faster Way to Flag Trouble
- Templates and Standards Worth Downloading
- Sources
What Does a Dog Rescue Transport Planning Guide Need to Cover First?
Before you book a single mile, your program needs a defined purpose. Are you running regional transports to move overcrowded shelter dogs to rescues with adoption capacity? Cross country relays to reduce euthanasia in high intake counties? Medical transfers for dogs that need specialty care unavailable locally? Each answer changes your selection criteria, your vehicle needs, and how tightly you coordinate with partners.
Pick your focus population early. Seniors, high adoptability dogs, or medical cases each carry different risk profiles, and trying to serve all three without separate protocols is how mistakes happen. A shelter dog with a clean bill of health moves differently through your system than a post op medical transfer that needs climate controlled transport and a vet check within hours of arrival.
Selection criteria only work when both sending and receiving partners agree on them in writing before the first transport, not during a phone call the night before pickup. That agreement belongs in a formal document, typically called a Transfer Agreement or Memorandum of Understanding (MOU). Written agreements that spell out medical, behavioral, and transport responsibilities are what separate organized programs from the ones that fall apart after the first miscommunication, according to guidance from institutional transport risk management standards.
Your MOU should include, at minimum:
- Named primary contacts at both the sending and receiving organization, with backup contacts listed
- Medical expectations, including who pays for pre transport vet care and what conditions disqualify a dog from travel
- Liability language covering injury, illness, or death during transport
- Documentation requirements: what paperwork travels with each dog and who retains copies
- A dispute resolution clause for when a dog arrives with an undisclosed medical or behavioral issue
Once the agreement is signed, the run sheet becomes your working document. It should list each dog’s name, photo, breed, weight, crate number, medical notes, and behavioral flags, shared with the receiving partner at least 48 hours before departure. Manuals like the Traveling Tails guide from the Pedigree Foundation point to this kind of advance sharing as one of the biggest drivers of successful placements, because it gives the receiving team time to flag problems before the dog is already on the road.
Medical Readiness: What Paperwork Does Every Rescue Dog Need Before Travel?
Every dog boarding a transport vehicle needs a paper trail that proves it’s fit to travel and safe to be around other animals. Skipping this step is how kennel cough outbreaks spread across state lines.
Request these documents before the dog is loaded, ideally 5 to 7 days ahead so there’s time to resolve gaps:
- A current health certificate, often called a Certificate of Veterinary Inspection (CVI), issued by a licensed veterinarian within the timeframe your destination state or receiving partner requires
- Vaccination records showing rabies, distemper, parvo, and bordetella status, with dates and the administering vet’s name
- Microchip registration details, confirmed and updated to the receiving organization’s contact information before departure
- A negative fecal or heartworm test result where the receiving partner requires one, particularly for dogs coming from high risk shelter environments
- Behavioral notes flagging bite history, resource guarding, or extreme fear responses that affect crate placement and handling
Medical selection rules exist to protect every dog on the vehicle, not just the one in question. Most programs exclude puppies under 8 weeks old, dogs running a fever, anything showing signs of an active contagious illness, and females in heat riding alongside intact males. Special care cases, like dogs recovering from surgery or managing a chronic condition, need a written care plan attached to their file, not a verbal note passed between volunteers.
At the loading point, run a pre load medical check on every dog:
- Confirm the dog matches its photo and paperwork before crating
- Check eyes, nose, and ears for discharge or signs of illness that developed since the health certificate was issued
- Palpate briefly for obvious pain response or swelling
- Verify the microchip scans and matches the number on file
- Note temperature and behavior in the transport log, with a timestamp
If a dog fails this check, it doesn’t travel. That’s a hard line, and it needs to be established with sending partners before transport day so nobody feels blindsided when a dog gets pulled. Document the rejection reason, notify both partner contacts immediately, and arrange for the dog to stay with the sending shelter or a local foster until it’s cleared. At handoff, medical records travel in a sealed folder with the dog, and the receiving partner should sign off confirming they received a complete set, not a partial one.
How Should Volunteers Set Up Vehicles and Crates for Dog Transport?
A pre trip vehicle checklist catches problems before they become emergencies on a rural highway with no cell signal. Before any transport leaves, confirm:
- Full fuel tank and a working spare tire, checked for pressure
- A charged fire extinguisher rated for vehicle fires
- A stocked first aid kit for both humans and dogs
- Functioning climate control, tested in both heating and cooling modes
- Roadside assistance and towing information printed and in the glove box, not just saved on a phone that might lose battery
Crate selection matters more than most new volunteers expect. Each dog needs a crate sized to let it stand, turn around, and lie down comfortably, not one it can barely fit into for the sake of saving space. Hard sided plastic crates travel better than wire or soft sided ones because they contain accidents and reduce injury risk if the vehicle stops suddenly.
Load crates so weight is distributed evenly and secure every one with straps or a locking system that prevents shifting or tipping during braking and turns. Stacking crates without securing them is one of the most common mistakes on volunteer led transports, and it’s an easy one to fix with cargo straps that cost less than a tank of gas. Air transport protocols from organizations like Dog Is My CoPilot also stress clear crate labeling, a habit worth borrowing for ground transport, since a crate marked with the dog’s name and destination prevents mix ups at multi stop handoffs.
Sanitation between runs isn’t optional. Rotate bedding between dogs, bag and dispose of waste immediately rather than letting it sit in a warm vehicle, and wipe down crate interiors with a pet safe disinfectant before the next load. This is basic biosecurity, and it’s the difference between one dog getting sick and an entire transport vehicle becoming a disease vector.
Pack these supplies on every trip: bottled water and collapsible bowls, extra leashes and slip collars as backups, poop bags, paper towels and disinfectant wipes, a few extra crates in case one fails, blankets or towels for bedding, a printed copy of every dog’s paperwork, and a physical map of the route as backup to GPS.
Who Does What: Volunteer Roles and Training for Safe Transport
Every transport needs clearly assigned roles, not a group of well meaning volunteers figuring it out in the parking lot. A basic role matrix looks like this:
- Transport coordinator: manages the run sheet, confirms all paperwork before departure, and serves as the point of contact for partner organizations
- Driver: operates the vehicle, monitors climate control, and performs scheduled welfare checks
- Loader: handles crating, securing, and unloading dogs at each stop
- Intake liaison: meets the receiving partner, confirms the handoff, and documents acceptance
Training shouldn’t be optional or informal. Every volunteer touching a dog on transport day needs to complete a minimum training checklist covering low stress handling techniques, proper crate lifting form to avoid back injuries, awareness of zoonotic disease risks like ringworm and kennel cough, and a walkthrough of emergency response steps for both animal and human injuries. Resources like iPupPee’s rescue dog training basics guide offer a useful starting point for volunteers who haven’t handled fearful or reactive dogs before.
For any transport longer than four hours, use two drivers so one can rest while the other drives, and build in a rotation schedule rather than pushing one person through an entire route. Before assigning anyone to drive, confirm a valid license and adequate insurance coverage, since a volunteer’s personal policy may not cover incidents involving transported animals. Safe transport guidance from RedRover backs the two driver rule specifically for trips over four hours, tying it directly to reduced fatigue related incidents.
Every volunteer signs paperwork before their first run: a volunteer agreement outlining expectations, a liability waiver, a safety acknowledgment form confirming they’ve completed training, and an emergency contact sheet kept with the transport coordinator.
Pro Tip: Pair a first time volunteer with an experienced driver on their first two transports before letting them run solo. The learning curve on crate securing and dog body language reads a lot faster in the field than in any training document.
How Often Should You Check on Dogs During Transport?
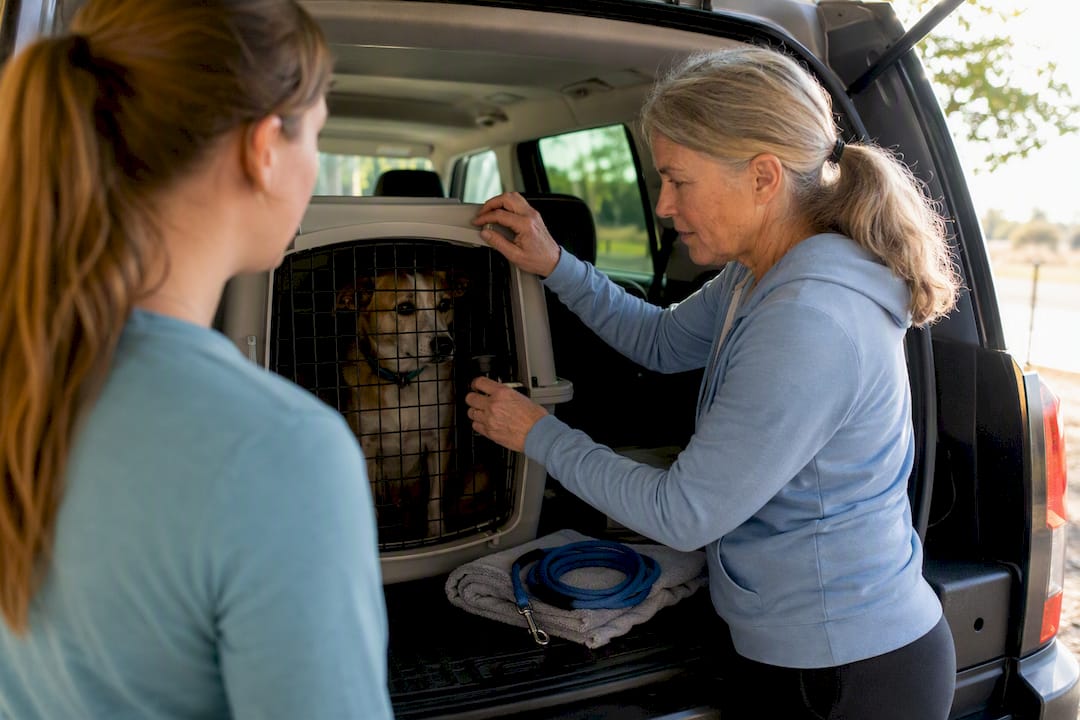
Dogs riding in a transport vehicle need eyes on them regularly, not just at scheduled stops. Visual welfare checks should happen at minimum every 4 hours, and more frequently for puppies, seniors, or dogs with known medical conditions.
- Perform a visual check every 4 hours at minimum, watching for signs of distress, overheating, or motion sickness
- Offer water at each 4 hour check, more often in warm weather or for dogs showing signs of dehydration
- Provide exercise and bathroom breaks every 4 to 6 hours, timed to avoid extending the day unnecessarily
- Log every check in the transport log with a timestamp, the dog’s condition, and any action taken
- Escalate immediately to the transport coordinator if a dog shows signs of significant distress rather than waiting for the next scheduled stop
Guidance from ShelterVet’s animal transport and relocation standards sets clear outer limits here: no more than 12 hours of driving per day, and total confinement, including loading and unloading time, capped at 28 hours before an overnight rest stop becomes mandatory. Those numbers exist because stress and dehydration risk climb sharply past that threshold, particularly for dogs already compromised by shelter conditions before they ever got in the vehicle.
Juvenile animals often need adjusted feeding schedules to avoid stomach upset on the road, and dogs on overnight stops benefit from a real bathroom break outside the vehicle rather than another few minutes at a rest stop parking lot. Document all of it. A transport log that only says “fine” at each check tells you nothing if a dog arrives showing signs of a problem that started hours earlier.
Building the Route: Scheduling, Waypoints, and Contingency Plans
A transport calendar should list departure and arrival windows for every leg, plus a named contact at each waypoint who can be reached if the schedule slips. Build in buffer time. A route planned down to the minute falls apart the first time there’s construction or a dog needs an extra bathroom break.
Route optimization isn’t just about the fastest path on a map. Identify vetted overnight stops in advance, ideally places with a relationship to a local veterinarian in case of emergency, and choose waypoints that minimize total time dogs spend confined rather than just minimizing driving distance. A route that adds 30 minutes of driving to cut confinement time by two hours is usually the better trade.
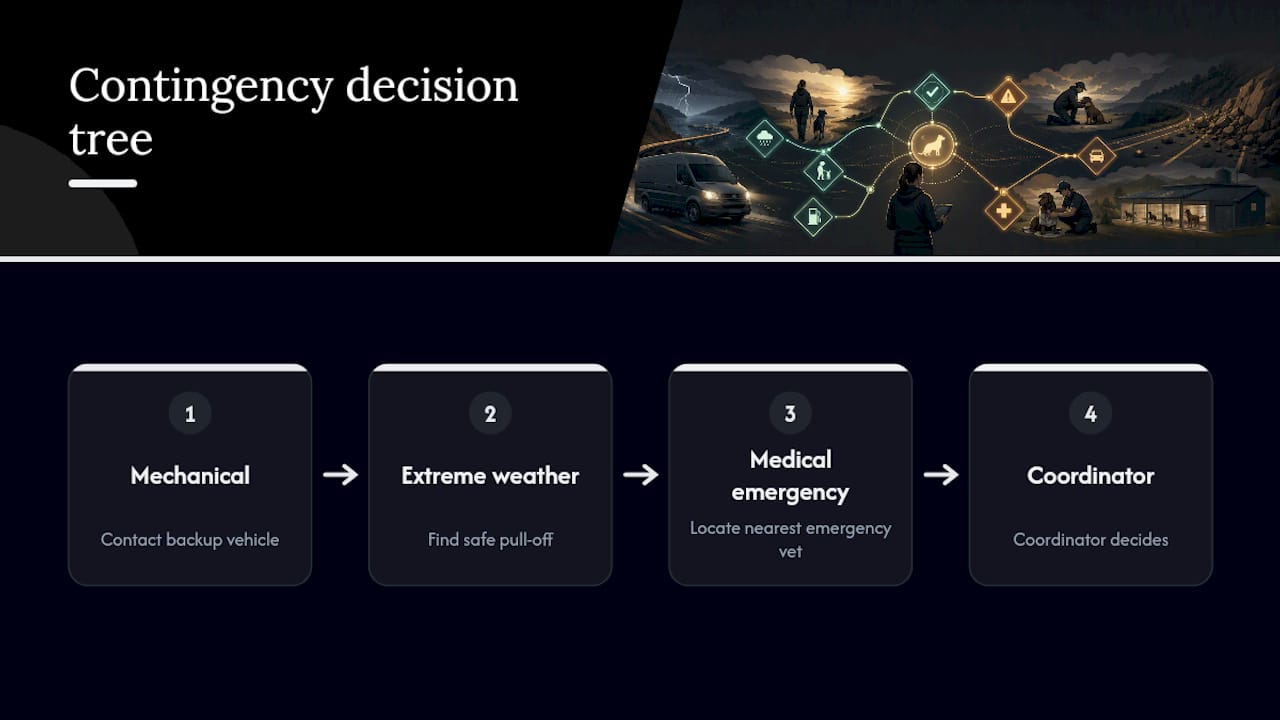
Every run sheet needs a contingency section covering three scenarios: mechanical breakdown, extreme weather, and medical emergency. Industry guidance on emergency animal transport planning makes the case that reactive responses to these situations tend to escalate both animal distress and organizational liability, compared to having a plan already written down before it’s needed. Know your nearest emergency vet along every leg of the route, keep a backup vehicle contact on standby for longer transports, and have a clear decision tree for who calls the shot to pull off the road.
Real time communication matters as much as the plan itself. Coordinators should get a check in message at each scheduled stop, and any deviation from the plan, a delay, a medical concern, a route change, gets logged immediately rather than explained after the fact. A shared calendar tool similar to Xolapp’s staff scheduling system can help coordinators track driver rotations and waypoint timing across a multi leg transport without relying on a group text thread that gets buried.
What Happens When the Transport Arrives?
Arrival isn’t the finish line, it’s another checkpoint. The receiving partner should run an immediate intake check covering hydration, temperature, and visible injury before the dog leaves the vehicle for good, comparing what they see against the medical notes that traveled with the dog.
- Confirm each dog against its paperwork and microchip before signing off on acceptance
- Document any condition changes noted during transport, and flag them to the receiving vet immediately
- Have the receiving liaison sign a confirmation that closes out the transfer agreement for that dog
- Track volunteer expenses (fuel, tolls, supplies) with receipts for reimbursement, and inspect crates and equipment for damage before they’re cleaned and returned to inventory
Every transport deserves a short after action debrief, ideally within 48 hours while details are still fresh. What went wrong, what took longer than planned, did any dog show unexpected distress. Feed those answers back into your MOU and run sheet templates. A formal debrief process, closing the loop between incident and updated protocol, is what separates programs that improve over time from ones that repeat the same mistakes every few months, according to institutional transport MOU guidance. For programs handling medically fragile dogs, pairing this with a rescue rehabilitation aftercare guide gives receiving partners a framework for the days immediately after intake.
Where Communication Devices Fit Into a Transport Plan
A dog that can trigger an alert the moment something goes wrong closes a gap that even a well trained volunteer team can’t always cover, especially during a solo stretch of driving with no one else in the vehicle to notice a problem early.
- Use cases include a dog signaling distress at a rest stop, or a coordinator getting an instant alert instead of waiting for the next scheduled check in
- Fold device training into volunteer onboarding alongside crate handling and low stress techniques, so it’s second nature by transport day
- Assign a specific alert recipient, usually the transport coordinator, rather than leaving notifications to go to no one in particular
- Set clear rules for who sees alert data and incident logs, and how long that information is retained
None of this replaces a medical checklist or a signed MOU. It’s a layer on top of the protocols already covering your program, and it works best when volunteers already know the emergency preparedness steps it’s meant to support.
Field Perspective: What Actually Breaks on Volunteer Transports
The paperwork gap is the most common failure I see in transport programs, not the driving itself. A rushed handoff, a missing vaccination record, a run sheet nobody double checked before departure. Rehearse the checklist out loud with new volunteers before their first live run, not during it.
Burnout is the other quiet killer. Pair inexperienced volunteers with veterans, rotate coordinators so the same person isn’t managing every transport, and build in a real debrief after hard runs, not just the logistics ones. Programs that update their MOUs and checklists after every incident, however small, are the ones still running smoothly two years later.
— Andrew
Give Your Transport Team a Faster Way to Flag Trouble
There are Wi-Fi connected alert devices that let a dog send a direct notification, complete with live video and two way audio, straight to a phone instead of waiting for the next scheduled welfare check. For a volunteer team running a long leg solo, that’s the difference between catching a problem the moment it starts and finding out about it 45 minutes later at the next stop.
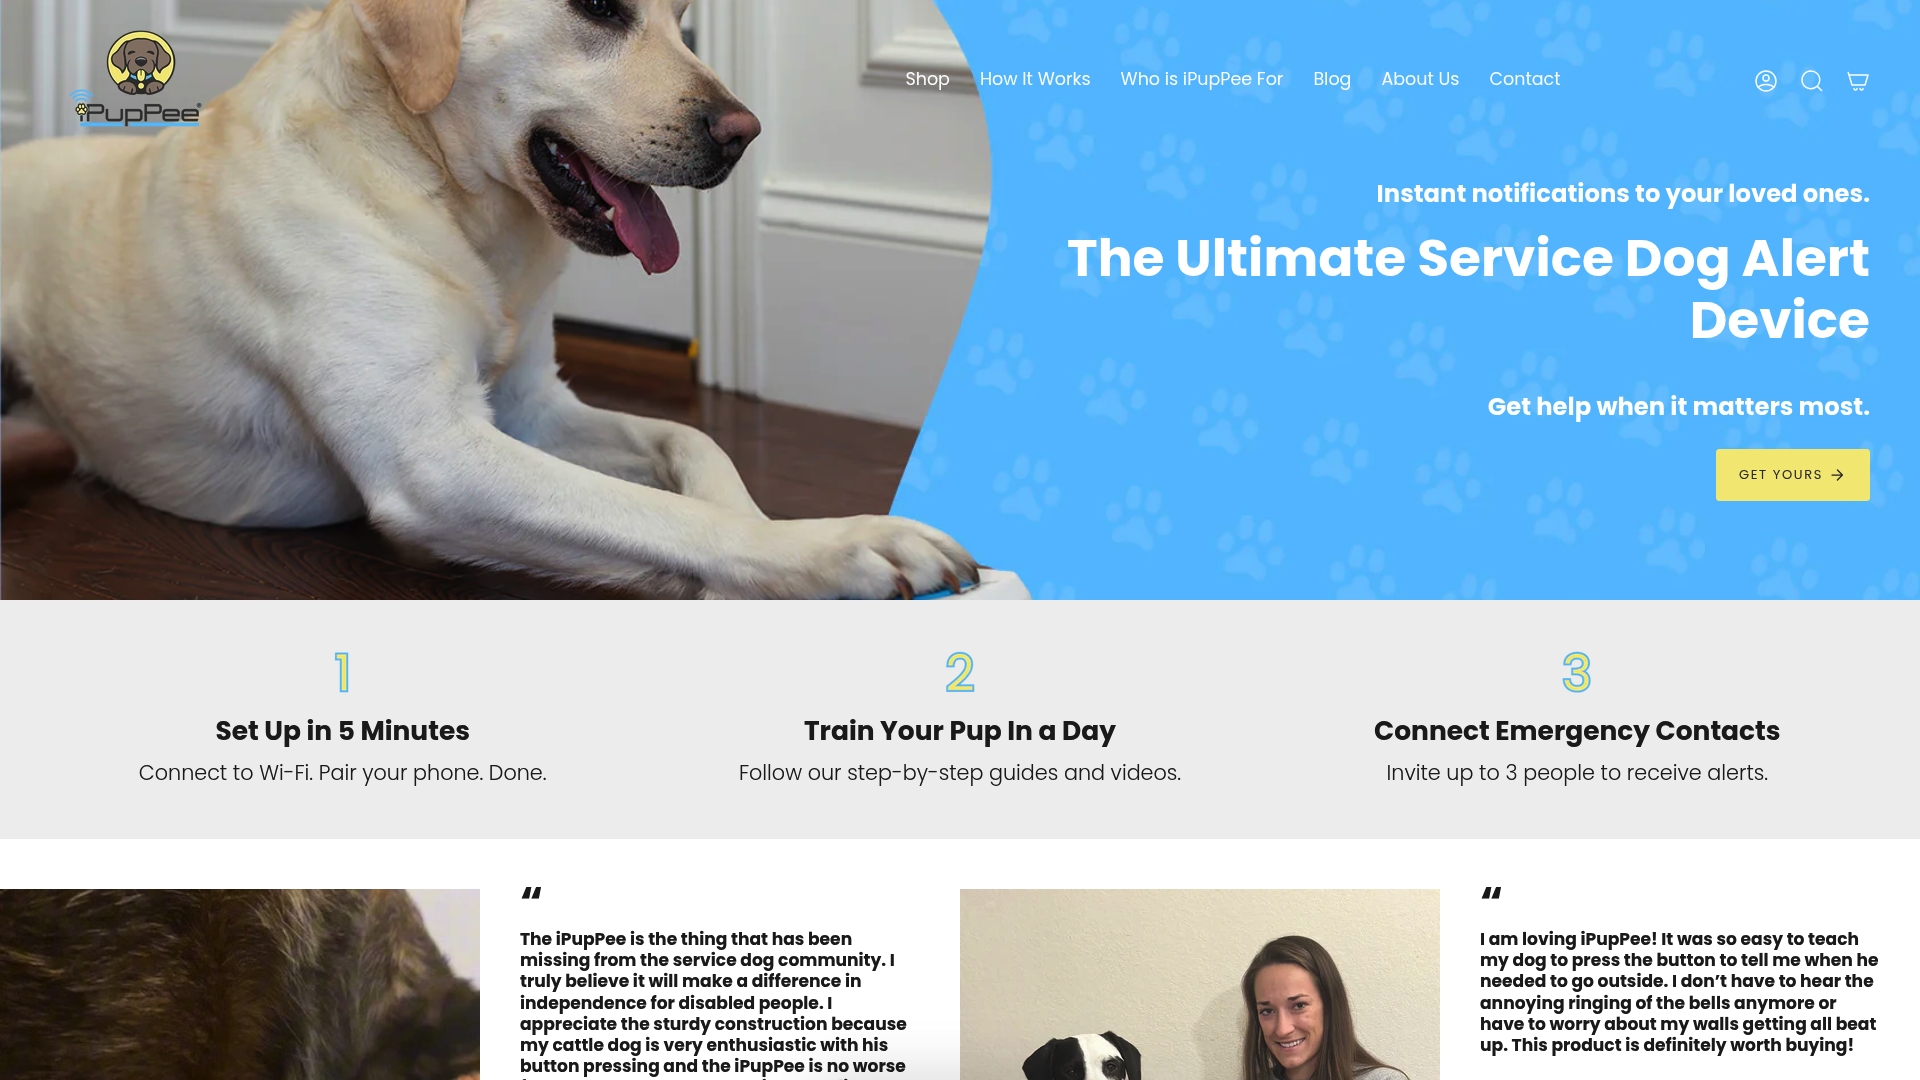
The device sits alongside your existing protocols, it doesn’t replace your medical checklist or your signed transfer agreement, but it gives coordinators a real time layer on top of the paper trail. There are on demand dog psychology and training courses, which are useful for volunteers who want a deeper handle on stress signals before they’re managing a crate full of anxious dogs on a six hour drive. Visit Ipuppee to see the device in action and decide whether it fits your program’s next transport.
Templates and Standards Worth Downloading
For deeper reference material beyond this guide, the ShelterVet transport and relocation standards cover welfare limits in full detail. The Best Friends Animal Transport Volunteer Playbook offers ready to adapt run sheets and checklists. The Pedigree Foundation’s Traveling Tails guide walks through partner selection criteria step by step.