

TL;DR:
- Effective pet safety training involves preparing the environment, gradually crate training, and teaching impulse control to ensure reliable, lasting safety behaviors. Proper home-proofing with secure cords, chemicals, and hazards reduces risks before training begins. Patience and positive reinforcement are essential for building genuine comfort and safety in dogs, preventing setbacks and fostering well-behaved, secure pets.
Step by step pet safety training is the deliberate process of teaching your pet essential safety behaviors using gradual, positive reinforcement methods that build real communication and lasting well-being. Most pet owners jump straight to commands without first setting up the environment, the tools, or the trust that makes those commands stick. This guide covers the full picture: home-proofing, crate training, multi-pet introductions, and the communication skills that tie it all together. Whether you have a new puppy, a rescue dog, or a senior pet, the structured approach here gives you a repeatable system that works.
What essential tools and environment preparations do you need before starting pet safety training?
Effective pet safety training starts before you give a single command. The environment you create either supports your dog’s learning or fights against it. Getting the setup right is the single most overlooked step in any dog home safety step by step plan.
The core supplies you need
Before training begins, gather these items:
- A size-appropriate crate (wire or plastic, with enough room to stand and turn)
- A 4 to 6-foot leash and a properly fitted flat collar or front-clip harness
- High-value treats (small, soft, and easy to deliver quickly)
- Baby gates or exercise pens to create confinement zones
- A long line (15 to 30 feet) for outdoor recall practice
- Enzymatic cleaner for accidents
- Puzzle feeders or chew toys for mental engagement during confinement
Every item on this list serves a specific training function. The crate is not a punishment space. The gates are not barriers to freedom. Both are management tools that keep your dog safe while their brain is still learning the rules.
Home-proofing before your dog arrives
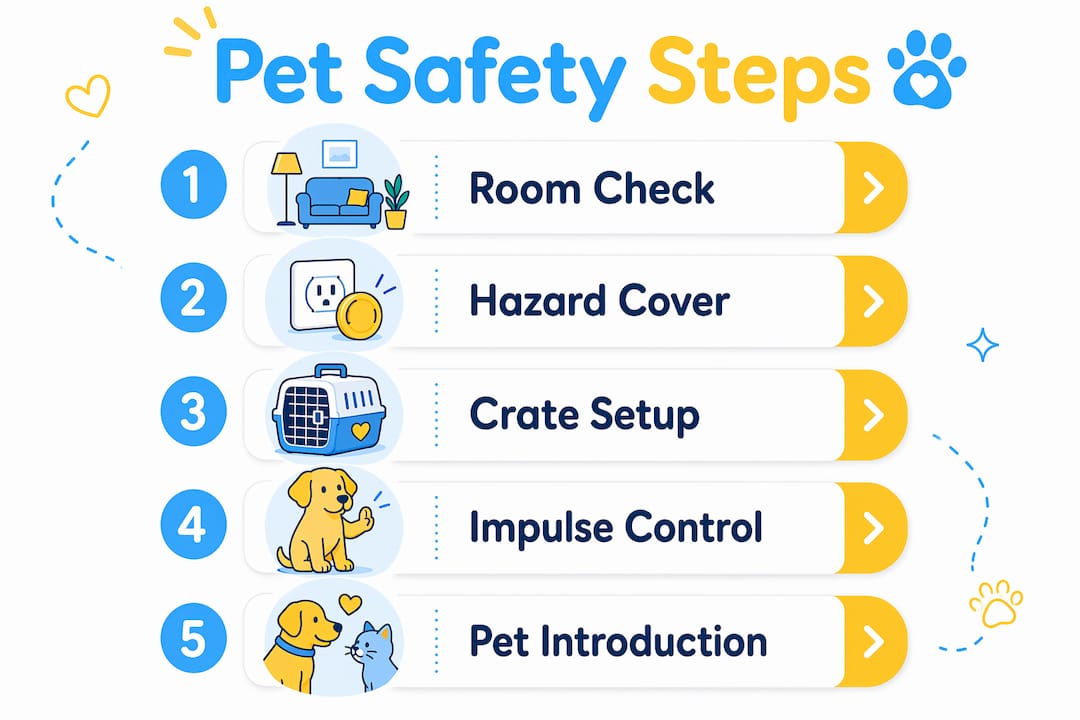
A room-by-room walkthrough at your dog’s eye level reveals hazards you would never notice standing upright. Loose electrical cords, small objects that fit in a dog’s mouth, and unsecured trash bins are the top three causes of preventable household injuries. Anchoring furniture, covering cords, and locking trash bins all reduce risk before training even begins.
| Safety Category | Action Required |
|---|---|
| Electrical cords | Cover with cord protectors or route behind furniture |
| Toxic chemicals | Store in locked cabinets at or above counter height |
| Toxic plants | Remove or relocate to rooms the dog cannot access |
| Trash bins | Use bins with locking lids or store inside cabinets |
| Small objects | Clear floors of coins, batteries, and small toys |
| Food hazards | Keep counters clear; secure pantry doors |
Pro Tip: Walk through every room on your hands and knees before your dog’s first day home. You will find at least three hazards you missed from standing height.
Environment management is not a substitute for training. It is the foundation that gives training a chance to work. A dog that cannot access danger while learning is a dog that stays safe during the process.
How to train your pet step by step to use a crate safely and positively
Crate training is the backbone of any structured safety program. Done correctly, the crate becomes your dog’s preferred resting place. Done incorrectly, it creates anxiety that undermines every other skill you try to build.
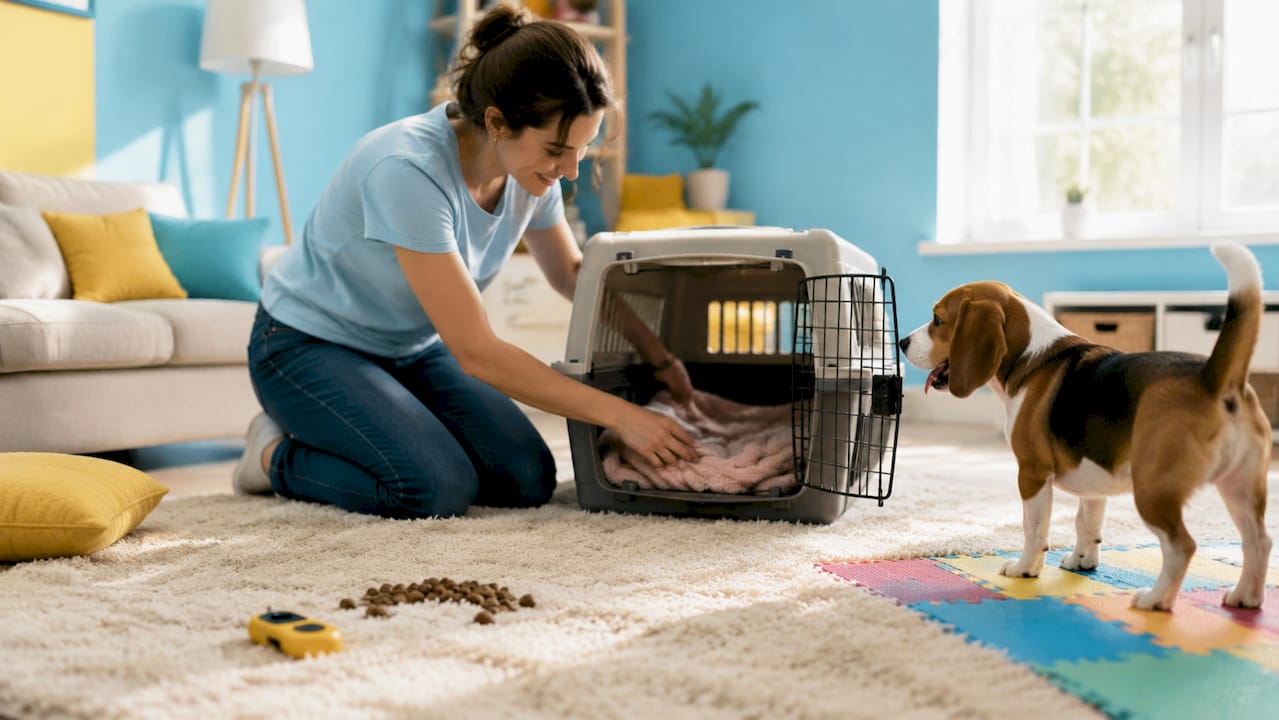
The AKC recommends starting with the door open and building positive associations before any confinement begins. This single principle separates trainers who get results from those who create fearful dogs.
Follow this progression exactly:
- Introduce the crate with the door tied open. Place it in a busy room. Toss treats near it, then just inside the entrance. Let your dog investigate at their own pace. Do not push or lure them all the way in on day one.
- Lure voluntary entry. Use a high-value treat to encourage your dog to step inside. The moment all four paws cross the threshold, mark with “yes” and reward. Repeat 10 to 15 times per session.
- Add a verbal cue. Once your dog enters reliably, say “crate” or “kennel up” just before they move toward the opening. The cue predicts the behavior, not the other way around.
- Close the door briefly. Latch the door for 3 to 5 seconds, then open it and reward. Your dog should remain calm. If they paw or whine, you moved too fast.
- Build duration in small steps. Increase closed-door time by 30-second increments. Feed treats through the door during this phase to maintain a positive association.
- Add distance. Once your dog holds a 5-minute closed-door stay calmly, begin stepping away. Return before any distress signal appears.
- Remove the collar before closing the crate. Collars present entanglement risks inside crate bars. This is a non-negotiable safety step that most guides skip entirely.
Professional trainers use what is called dimensional training: they build duration or distance separately, never combining two difficulty increases at once. If you extend the time AND move farther away in the same session, you double the cognitive load and double the chance of failure.
Pro Tip: Feed your dog’s regular meals inside the crate with the door open. This builds a strong food-based positive association faster than treat training alone.
Common mistakes to avoid:
- Crating a dog for longer than they can hold their bladder (puppies need a break roughly every hour per month of age)
- Using the crate as punishment after a mistake
- Letting a dog out while they are whining, which rewards the noise
- Skipping the collar removal step
For a deeper look at positive reinforcement crating, the Ipuppee training blog covers the full progression with troubleshooting for common setbacks.
What are effective step by step methods to safely introduce dogs to small pets?
Multi-pet households require a different kind of safety training. The goal is not to make your dog “like” the small pet. The goal is reliable impulse control and consistent management. Management, not trust, is the foundation of safety between dogs and smaller animals.
Before any face-to-face contact
Scent swapping is the most underused tool in multi-pet introductions. Exchange bedding or a worn cloth between the two animals for 3 to 5 days before they ever see each other. This removes the element of surprise from the first meeting and reduces the arousal spike that causes reactive incidents.
Teach these two commands before any introduction session:
- “Leave it”: Your dog disengages from the target and looks at you. Practice with low-value items first, then food, then moving objects.
- “Stay”: Your dog holds position while a distraction moves nearby. Build this to 10 seconds of calm holding before using it near a small pet.
Impulse control commands are the difference between a managed introduction and an emergency. Teach them weeks before the first meeting, not the morning of.
The introduction process
| Stage | Dog | Small pet | Duration |
|---|---|---|---|
| Scent introduction | Sniffs bedding in neutral space | Sniffs bedding in secure enclosure | 3 to 5 days |
| Visual introduction | On leash, 6 to 10 feet away | Secured in carrier or enclosure | 2 to 3 minutes |
| Closer proximity | On leash, 2 to 3 feet away | Still secured | 2 to 3 minutes |
| Supervised proximity | On leash, within 1 foot | Secured but visible | 3 to 5 minutes |
Watch for stress signals in your dog: stiff posture, intense staring, and a low, fixed tail. In small pets, watch for freezing, puffing up, or hiding in a corner. Stop the session before either animal reaches visible distress. Ending on a calm moment is always the right call.
Pro Tip: Reward your dog with treats and calm verbal praise every time they look away from the small pet voluntarily. That disengagement behavior is exactly what you want to reinforce.
For guidance on managing first interactions between animals in the home, the Ipuppee blog has a detailed breakdown of controlled introduction protocols.
How to implement home safety measures that support your pet’s well-being
A safe home is a training asset. When your dog cannot access hazards, you spend less time correcting and more time reinforcing good behavior. The 48-hour pre-arrival checklist below gives you a concrete action plan.
- Secure all electrical cords. Use cord covers, cable clips, or route cords behind furniture entirely. Puppies and young dogs chew cords at a rate that surprises most first-time owners.
- Lock up all chemicals and medications. Store cleaning products, pesticides, and human medications in locked cabinets. The ASPCA Animal Poison Control Center handles thousands of calls annually for household toxin exposure in pets.
- Remove or relocate toxic plants. Common houseplants including pothos, philodendron, and sago palm are toxic to dogs. Move them to rooms behind closed doors.
- Set up confinement zones. Use baby gates to limit your dog’s access to one or two rooms during the first weeks. Expand access gradually as trust and training progress.
- Secure the yard perimeter. Check fence lines for gaps at ground level. A dog that can escape the yard is a dog that cannot be trained safely outdoors.
- Create a designated safe space. Place the crate, a water bowl, and a chew toy in a low-traffic area. This becomes your dog’s default retreat during high-stimulation moments.
The canine home safety checklist above is not a one-time task. Revisit it every few months, especially after home renovations, new furniture, or seasonal changes that bring new plants or chemicals into the house. For a full room-by-room safety guide, Ipuppee’s resource library covers 2026-specific hazards and solutions.
Key takeaways
Effective pet safety training requires environment preparation, gradual crate conditioning, impulse control work, and consistent management before any advanced skill can be reliably built.
| Point | Details |
|---|---|
| Prepare the environment first | Home-proof every room at dog eye level before training begins to remove hazards. |
| Build crate comfort gradually | Start with the door open and build duration and distance as separate steps, never together. |
| Remove collars before crating | Collars create entanglement risks inside crate bars and must be removed every time. |
| Use scent swapping for introductions | Exchange bedding between animals for several days before any face-to-face meeting. |
| Management is the safety baseline | Even well-trained dogs require consistent supervision and secure enclosures around smaller pets. |
Why patience is the most underrated safety tool
I have worked with hundreds of pet owners who come to training with a timeline in their heads. They want a safe, reliable dog in two weeks. What they actually need is a dog that has been given enough repetitions, at low enough stress, to build genuine understanding. Those are very different things.
The single most common mistake I see is skipping steps because the dog “seems fine.” A dog that tolerates the crate door closing is not the same as a dog that is comfortable with it. Tolerance and comfort look similar on the surface, but they produce completely different outcomes under pressure. Tolerance breaks. Comfort holds.
The other thing I have learned is that punishment-based corrections during safety training create a specific kind of damage that is hard to undo. When a dog associates the crate, the leash, or the presence of another animal with something unpleasant, you do not just slow the training. You create a dog that is harder to read, less predictable, and more likely to react in ways that create the exact safety problems you were trying to prevent.
Positive reinforcement is not the soft option. It is the precise option. Every reward you deliver is information your dog uses to build a mental map of what works. Build that map carefully, one step at a time, and you get a dog that chooses safe behaviors because they have learned those behaviors pay off. That is the only kind of safety training that holds up when it counts.
Adapt the pace to your dog, not to your schedule. Some dogs move through crate training in three days. Others need three weeks. Both outcomes are normal. The dog that takes three weeks and arrives at genuine comfort is safer than the dog that was rushed through in three days and is merely tolerating the process.
— Andrew
Continue your pet safety training with Ipuppee
Ipuppee is built for pet owners who take their dog’s safety and communication seriously. Beyond the iPupPee alert device, the Ipuppee blog covers every stage of the training process, from puppy safety fundamentals to advanced communication skills for service dogs and seniors living alone. If you found this guide useful, the Ipuppee resource library has detailed articles on crate training troubleshooting, multi-pet household management, and home-proofing for every life stage. Visit Ipuppee to explore the full catalog of training guides and discover how the iPupPee device supports the communication side of pet safety that training alone cannot cover.
FAQ
What is step by step pet safety training?
Step by step pet safety training is a structured method of teaching dogs essential safety behaviors using gradual, positive reinforcement progressions. It covers crate conditioning, impulse control, home-proofing, and controlled introductions to build reliable, safe behavior over time.
How long does crate training take?
Crate training typically takes anywhere from a few days to several weeks depending on the dog’s age, history, and temperament. The AKC recommends building duration and distance as separate steps to avoid overwhelming the dog and to create genuine comfort rather than mere tolerance.
Should I remove my dog’s collar during crating?
Yes. Collars and harnesses present real entanglement risks inside crate bars, and the AKC advises removing them every time before closing the crate door. This is one of the most commonly skipped safety steps in home training.
How do I introduce my dog to a small pet safely?
Start with scent swapping for 3 to 5 days before any face-to-face contact. Keep the dog leashed and the small pet secured during all initial visual introductions, and teach “leave it” and “stay” before the first meeting takes place.
What rooms should I puppy-proof first?
Start with the rooms your dog will access most: the kitchen, living room, and any bedroom where they will sleep. Secure cords, lock up chemicals, remove toxic plants, and set up baby gates to create a manageable confinement zone before expanding access.